Wednesday, July 24, 2013

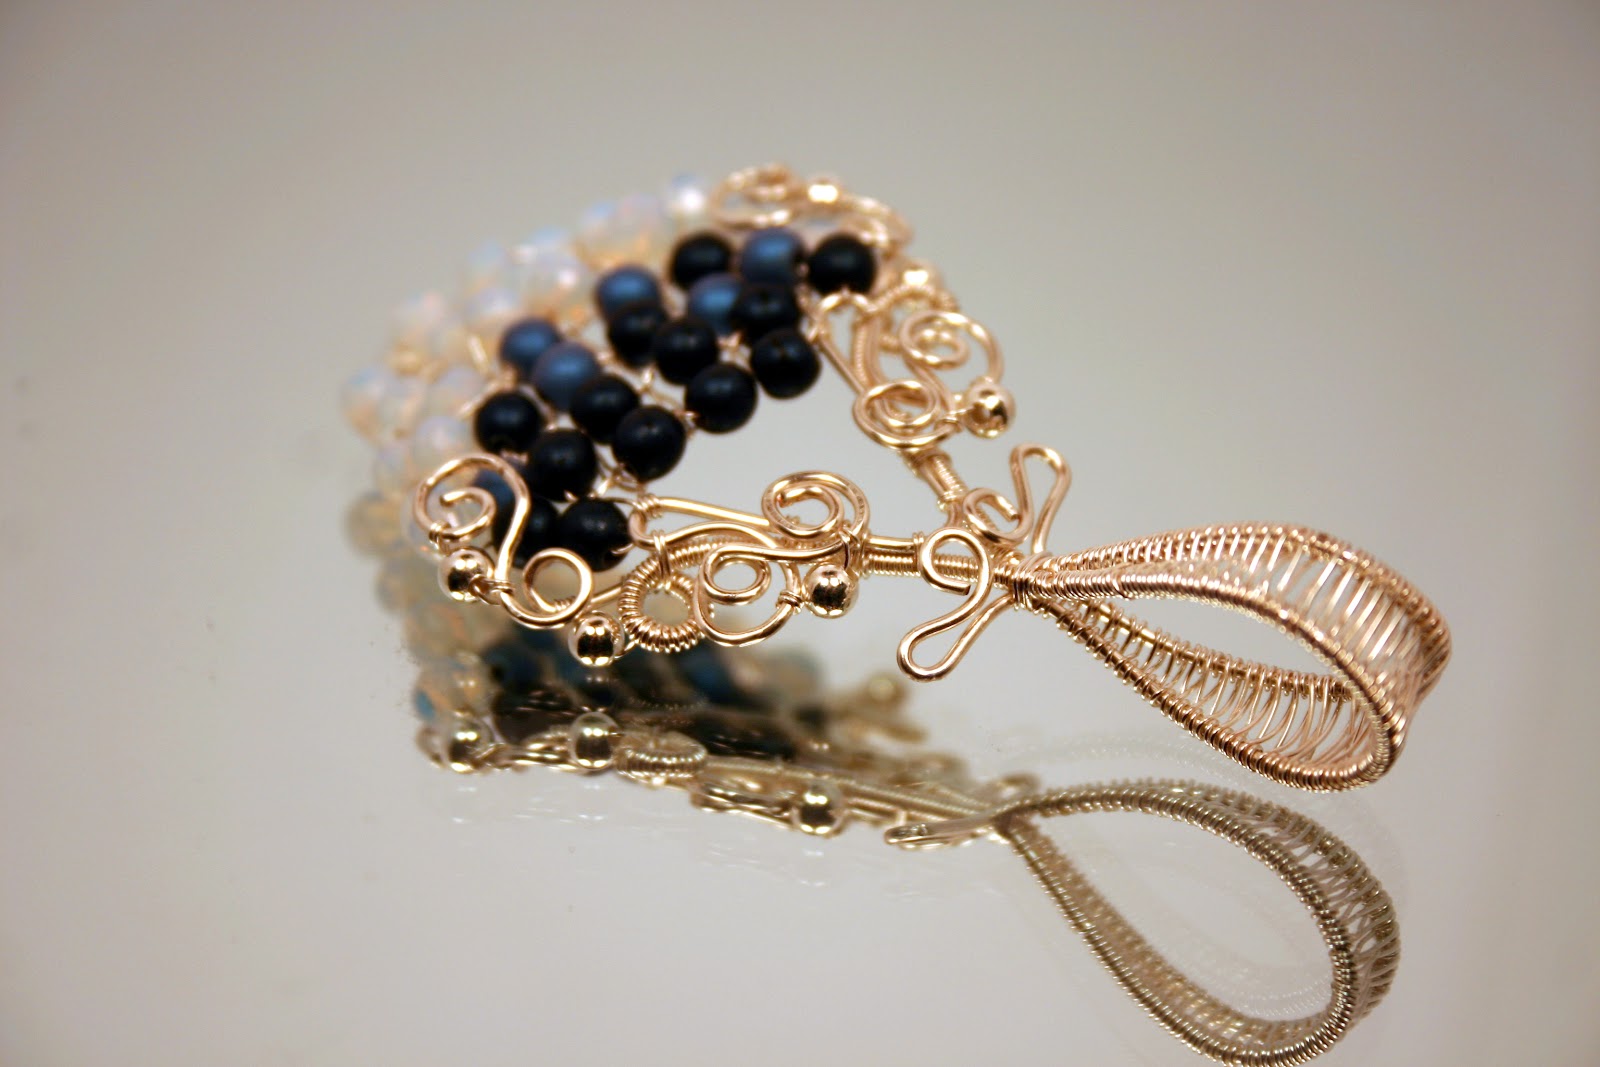
Diamond Earrings: Blue & Grey Diamonds on 24k Gold - A Custom Set for Janesko

I can't believe it has been so long since I last posted. It's amazing how time flies. I'm sorry and I promise to do better!

Although I haven't posted, I have been busy this year. Carrie, Michelle, and I have done a few shows and working on expanding the Brie'Denee Etsy shop. One of my biggest accomplishments this year was the set of earrings I made for a local designer, Janesko.


These beauties took about 8 hours total to make. Here are a few photos of the process.


First, I had to test how many times my tiny 30 gauge wire would go through the stones. When I tested it, I found that these stones and the holes were so tiny, I could only make 1 pass with the wire. That really reduces the types of techniques that can be done to lay these out how my client wanted. It took a bit to figure out how to do. I decided using a weaving technique would be the best option.  

Next, I had to layout the order for the stones. Janesko wanted the stones to look like they were floating with the blue and grey mixed together. I laid them out so they look random, but they're really not. I put a pattern in since I had to duplicate each side of the "V" as well as make the mate to the earring pair.


And the work begins! The beads are strung on 1 long wire, about 8 inches or so. Then I folded 4 more 8 inch lengths of wire. To make sure the earrings were sturdy enough, I had to make a boarder so each set of end wires were twisted together. Then it was a matter of running 3 diamonds at a time on the main strand and weaving the other 4 wires around it to keep the stones in place. Whew! Lots to do still!


To make sure I kept the order and was able to finish with the point, I had to do both sides at once. I just love how these turned out and so did Janesko!


Tuesday, October 9, 2012

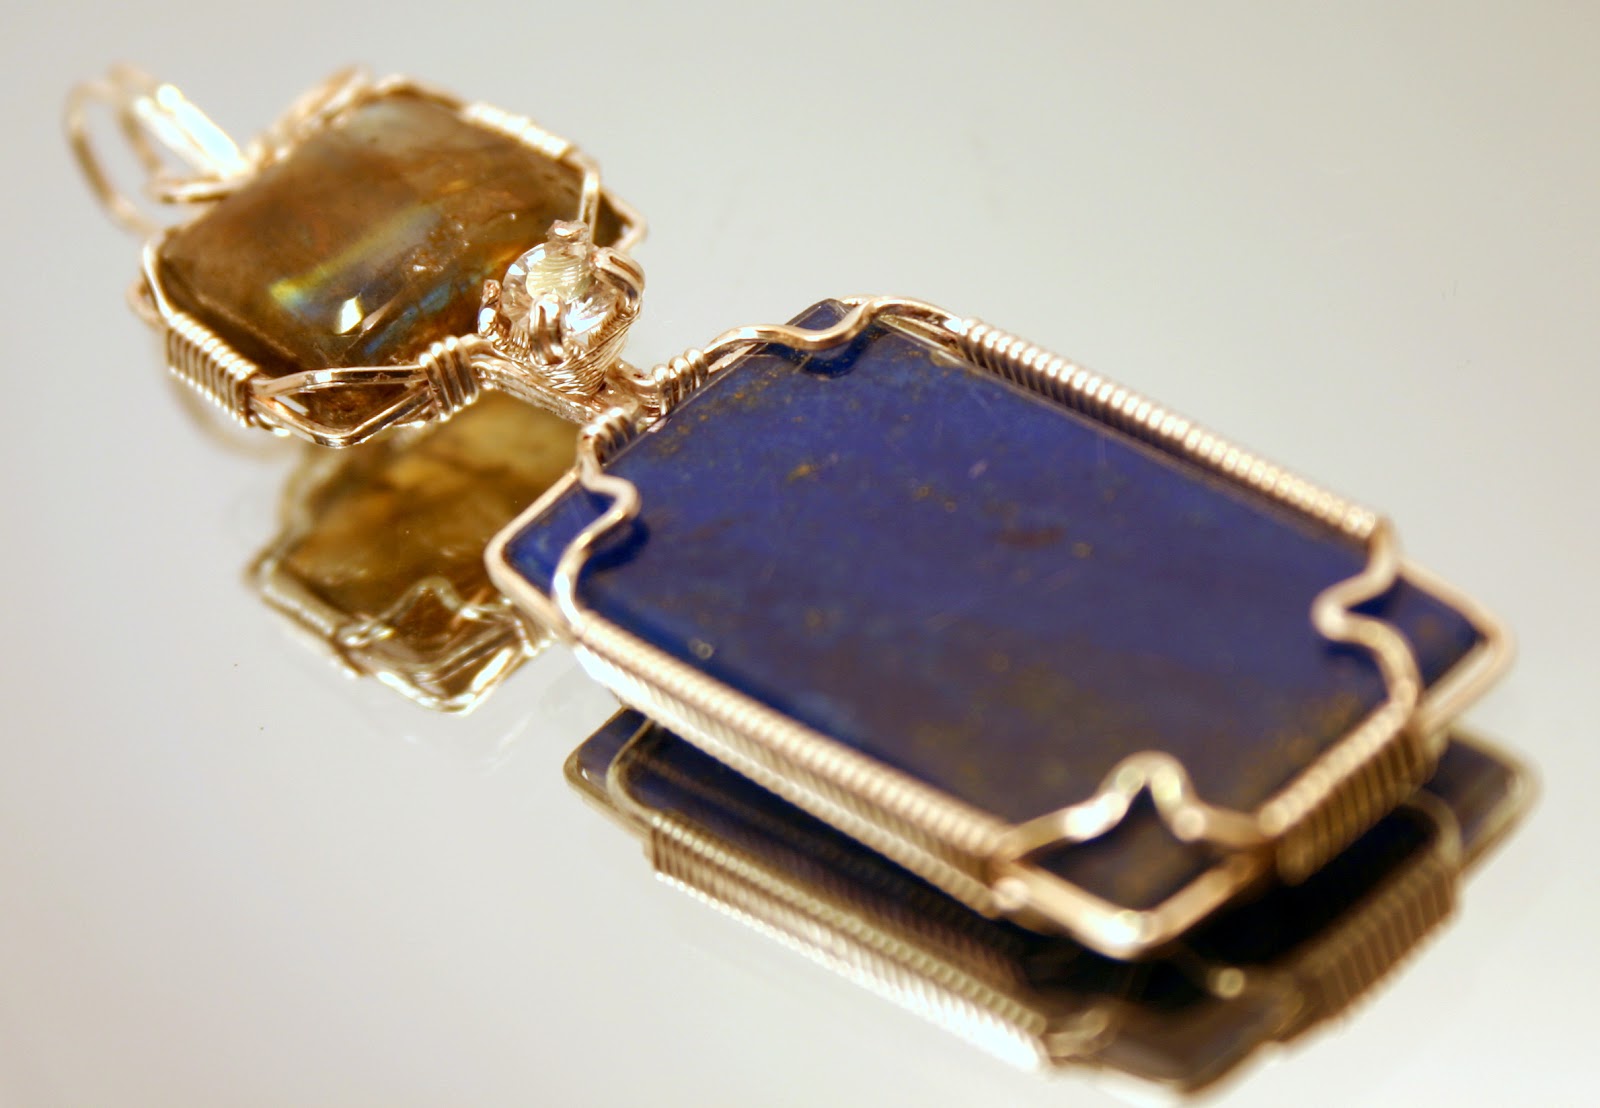
New Item: Blue Lapis, Labradorite, and White Topaz Pendant in Silver OOAK

I actually made this piece a little while ago. Just never got around to posting about it. This piece begins with a Labradorite Cabochon followed by a 6mm White Topaz then a Lapis Lazuli Cabochon. I wrapped it in the more traditional wire-wrapping style.

Here it is for your viewing pleasure. Would you like to purchase this piece? Visit my shop.


Thursday, September 6, 2012

Fall Arts and Crafts Festival in Lawrence, KS 2012

Here it comes! We have 4 large shows in the next few months. 2 are in October and are back to back. Then one in November before Thanksgiving to jump start the Christmas Season.

In the meantime, we'll begin our Fall Show Tour with the Fall Arts and Crafts Show in Lawrence, KS this Sunday, September 9th. I am super excited. We did the Art in the Park show earlier this year and had a blast so I have high hopes for the Fall show.


Although we loved the layout above, we've been working out ways to make it even better. The grids have come in super handy with a wonderful way to hang all our earrings and pendants. It's just not enough table space!

We recently purchased several more necklace busts as we want to display our beautiful pieces better. This means we need more table tops! So we're rearranging again. Come visit us to see our new layout (we're not exactly sure what it'll be yet. Ha).


A little about this Festival

This show has been happening for 33 years now. Quite amazing! An even more amazing feat is that it is strictly Artists and Handmade. There are no booths for Commercial vendors. So if you love going to events like these, stop by. You'll see some neat original and one of kind pieces by local and non-local artists. Over 160 artists! So you'll have plenty to choose from.

Not only can you purchase original arts and crafts, but you'll get to see some live music. The Lawrence City Band will be playing as well as the Lonnie Ray Blues Band. They'll also have kid-related things such as a moonwalk and booths specific for children. Oh boy, I just found out they'll even have miniature poly rides for the youngsters! So fun.

And of course, you can't have a festival without tons of food! Be sure to stop by the concessions area for the all time favorite of funnel cakes and blooming onions.

Location: South Park
1141 Massachusetts St
Lawrence, KS

Date: September 9, 2012

Time: 10:00a - 5:00p

Cost: Free

Friday, August 24, 2012

Rose and Yellow Recycled Glass Pendant

This is an item I've had done for a while. It's a stone I got while Carrie and I were in Texas visiting my grandma. We had gone to a gem and bead show in San Antonio and came across a lapidary artist called Unconventional Lapidarist. I think his website has mostly gemstones now but the beauty below is recycled glass. We got several amazing stones from him and I've had designs floating in my head ever since I bought the stones. Just haven't gotten them out yet.


This pendant was made using the recycled glass, as I said above. I did a technique I learned from Eni Oken on Jewelry Lessons. It is called a net bezel and generally, you just make a bunch of loops off your base. This isn't a tutorial, but basically your base should be slightly smaller than the stone then you start a bunch of loops.

Send me a message if you want to be walked through the process. It's actually fairly simple, just time consuming.


After I got my net done and stone in place, I added my Swarovski Crystals, in rose to match the pink of the stone, and made the back more sturdy by doing a zig-zag around the frame.

Don't forget to do the bail. I did mine by just extending the base wires and wrapping them. Then shape them and Viola....a beautiful pendant ready to wear.


Wednesday, August 22, 2012

Wire Jewelry Tutorials Sites

There is a lot of interest out there for jewelry tutorials. When I first began making jewelry, I thrived on learning techniques from tutorials and books offered by professionals in the field. So I thought I'd share with you a list of some wire-jewelry professionals who create fantastic tutorials.

Jewelry Lessons


This is a fantastic resource. This has both full jewelry making professionals creating both free and paid tutorials as well as newbies sharing their projects. I found this venue probably 1 1/2 to 2 years ago and was just amazed at all the knowledge being shared. You can view pretty much everything as a guest or create a login and start downloading tutorials and saving your favorite projects. One of the best things about this community is all the free advice and companionship! You'll never feel alone again as you learn some great techniques! They actually have a polymer clay site as well called Clay Lessons if you're interested in learning that medium. Many artists create beads or focal pieces out of polymer to use in their jewelry. Jewelry Lessons provides options for free tutorials as well as paid tutorials. You can modify their search parameters for lower cost (and free) to the higher cost and skill level options.

Etsy


You can find many artists who love teaching others their craft. Many of those artists on Etsy who sell original pieces also sell tutorials on how to make those pieces. Most all of these sellers offer paid tutorials. Each listed below are very talented individuals with amazing designs. The tutorials are well worth the fee's for the knowledge and skills they are offering.

Wire Artists on Etsy
Just to name a few.

Here are some of my favorite tutorials on Etsy.


Bloggers

Several jewelry artists not only sell their work in finished form, but they will host blogs and perhaps provide free tutorials. Sometimes they will be simple pieces of work to give you a taste to purchase something more elaborate, or completely free. Just depends on the artist.


Blogging Wire Artists

Pinterest

Ok. So Pinterest doesn't have tutorials directly, but you can certainly use the search bar to find posts from others about tutorials. Or at least find plenty of inspiration. It's one of my favorite places to search for cool and interesting designs or catch a quick tip. I have some great boards with tons of links back to inspirational pieces and tutorials.


I do have a board dedicated to posts specifically for tutorials Jewelry Tutorials DIY - Wire, Metalsmithing, Jewelry and one dedicated specifically for inspiration called Jewelry & Wire Design Inspiration.

Follow Me on Pinterest


Good luck on your learning adventures! A goal of mine is to begin making tutorials so keep a lookout at my Projects page. I'll update it as I get tutorials out. Some of them may not always be wire related like the first one I posted, but it's still a tutorial and a good start.

Thanks

Brittney


Saturday, August 18, 2012

Newest August 2012 Items

Here's a fun twist to the simple bangle design I've been selling lately. 


I call this my Bubbles Pendant. The Czech glass and Opal beads look like bubbles floating up in the ocean with a top of swirls. 


Peacock Feathers are in big now. So I made some Peacock Feather Earrings for all those who love the beautiful colors.


Thursday, August 16, 2012

Peg Board Display Case - Tutorial

This weekend my mom and I put together three of these peg board display cases. You may be asking why since we already have a ton of display supplies. After we finished up our show at Maker's Fair in Union Station and talking to some of the other crafters, we found out our next show may not have as much space as we need. Most likely, we'll only have one table. This means a large portion of our display setup...aka the grid...probably won't work. Time to go back to the drawing board.

With this in mind and my love of Pinterest, I found this awesome blog called Sugar Bee Crafts. She does shows and had a post and tutorial of the Peg Board Display Case. She has a great picture of how she uses hers as a jewelry display. And so our adventure began.

Since we haven't taken these to a show yet, the pictures are not glamorous at all. I took them pretty quick with my phone as we were working.


Supplies you'll need:

1 sheet of Peg Board - Cut this into thirds then cut the thirds in half. You'll end up with 6 pieces about 2 ft x 32 in
    *Have Lowes or Home Depot cut it for you before you purchase.

7 1x2 boards. They come in packs of 6 and were only $1 each.

Screws - Nothing fancy. Something at least an inch long just to hold everything together.

Drill - to screw the screws in.

Circular Saw - to cut the 1x2's. You could also use a hand saw. It's more labor but would work.

6 hinges - We had 3 packs of 2 from Wal-Mart on hand from a previous project.

3 locks - You can pick up 2 packs of 2 from the hardware store for around $2 each. Nothing fancy unless you want fancy.

Strap material - We picked up about 4 yards of silver strap material for Joannes for fairly cheap.

12 small washers


To Begin:

Since the do-it-yourself store cut your peg board, you don't have to worry about that. Now we just need to measure and cut your 1x2 boards to make the frame. The frame is going to go around the inside perimeter of the peg board.

You should also decide which side you want to be your "inside" portion. We chose the shorter ends to go inside the longer ends.


Step 1

To make it easy, we measured the long sides first then cut them. The 1 board of 1x2 made 3 of the long board. I think it was about 32 inches. Then we put the long boards on the peg board and measured from the inside of one to the inside of the other to get the length of the short board which was about 23 5/8 inches. Then cut out the short board. I think 1 board of 1x2 made 4 or 5 of the short boards.

You'll need 12 of each length boards.


Step 2

Once you get all your boards cut, separate them out to have 6 sets of 2 long and 2 short. Take your first set of 4 boards, 2 long and 2 short, and put them in a rectangle like the image above.

Screw each corner together. Your long board should be on the outside of your short board.


Step 3

Now that you have your frame, lay the peg board on top. If you measured correctly, the edges should be flush. 

Screw the peg board down to the frame. Be sure not to go through one of the peg holes. Your board won't stay in place if you go through the hole so choose a spot without a hole already.

Carrie screwing the peg board to the frame. Go Carrie!

Step 4

Repeat the steps 2 and 3 until all 6 of your boards are made.  (I have a picture at the start with a few made.)


Step 5

All your single boards should be done by now so we should be ready to turn it into a case. 

Stack your boards together so the frames are on the inside. We are making an open pocket so you can hang things inside and close them in. Depending on what you have, you can leave your items inside as you transport them to your next event.

We put our hinges and locks on the long sides since we are looking for height. You can put yours on the short side if you don't want something quite as tall.

Locks and Hinges

Take out the first hinge from the package. It should come with 2. We put the hinge on so that we can fully open ours so be sure to test your hinge before you screw it on. Once you have the direction, screw the hinge in place with the handy dandy screws it comes with. 


Step 6

Don't forget to add your lock. Go to the other side of the case to add this. It was a tad tricky. We had to test it before we chose the placement since we wanted to be sure that it stayed locked. Two sets of hands definitely came in handy for this...hehe.

Once you get the top part screwed in place, keeping the lower piece, carefully lift the lock. You want access to the holes for the screws but you don't want to displace your lock. Then screw it together. 


Step 7

You now have your first case. Hold that thought though, you're not fully finished. This is the point when you paint it if you want. We haven't gotten that far yet but we plan on painting it white (I already have white paint otherwise I would prefer black).


Step 8

So you can easily carry your case, lets add some straps. To come up with the length, pick up your case. Hold it so your hinges or lock are facing the front. You should have an idea of where it will be comfortable when carrying. Place your strap over your shoulder and get a length. Then begin cutting your straps so you have 3. We also made shorter ones so if we want to hold it by hand instead of over the shoulder, we could do that too.

Once you cut your straps, burn the ends to keep them from fraying.


Since we haven't painted yet, we haven't added our straps either but this is how we plan to do that.

Place your strap where you want it on your case. Be sure to have both ends on the same side so you can still open the case. Put a washer toward the edge and screw the strap in place. If your washer/screw is small enough, put two down.

Follow the same procedure for both sides and each subsequent strap.

Viola! You now have a Peg Board Display Case that you can carry to your next show.


If you don't want to hear rattling, you could try to put some foam between your items before you close the case. I haven't tried it, but it might help dampen some of the noise. I know I hate riding in the car with noisy display items.

So, what do you use inside to hang your items on? If you get the 2 inch pegboard hooks, they'll fit inside the case and the case will still be able to close. I like that idea. It's a pain to put them all in and then put in any jewelry then have to take it all off again.

Good luck! Let me know if you have any questions. I'll post a picture of our completed cases once I get them all painted.


Thanks for reading!

Brittney